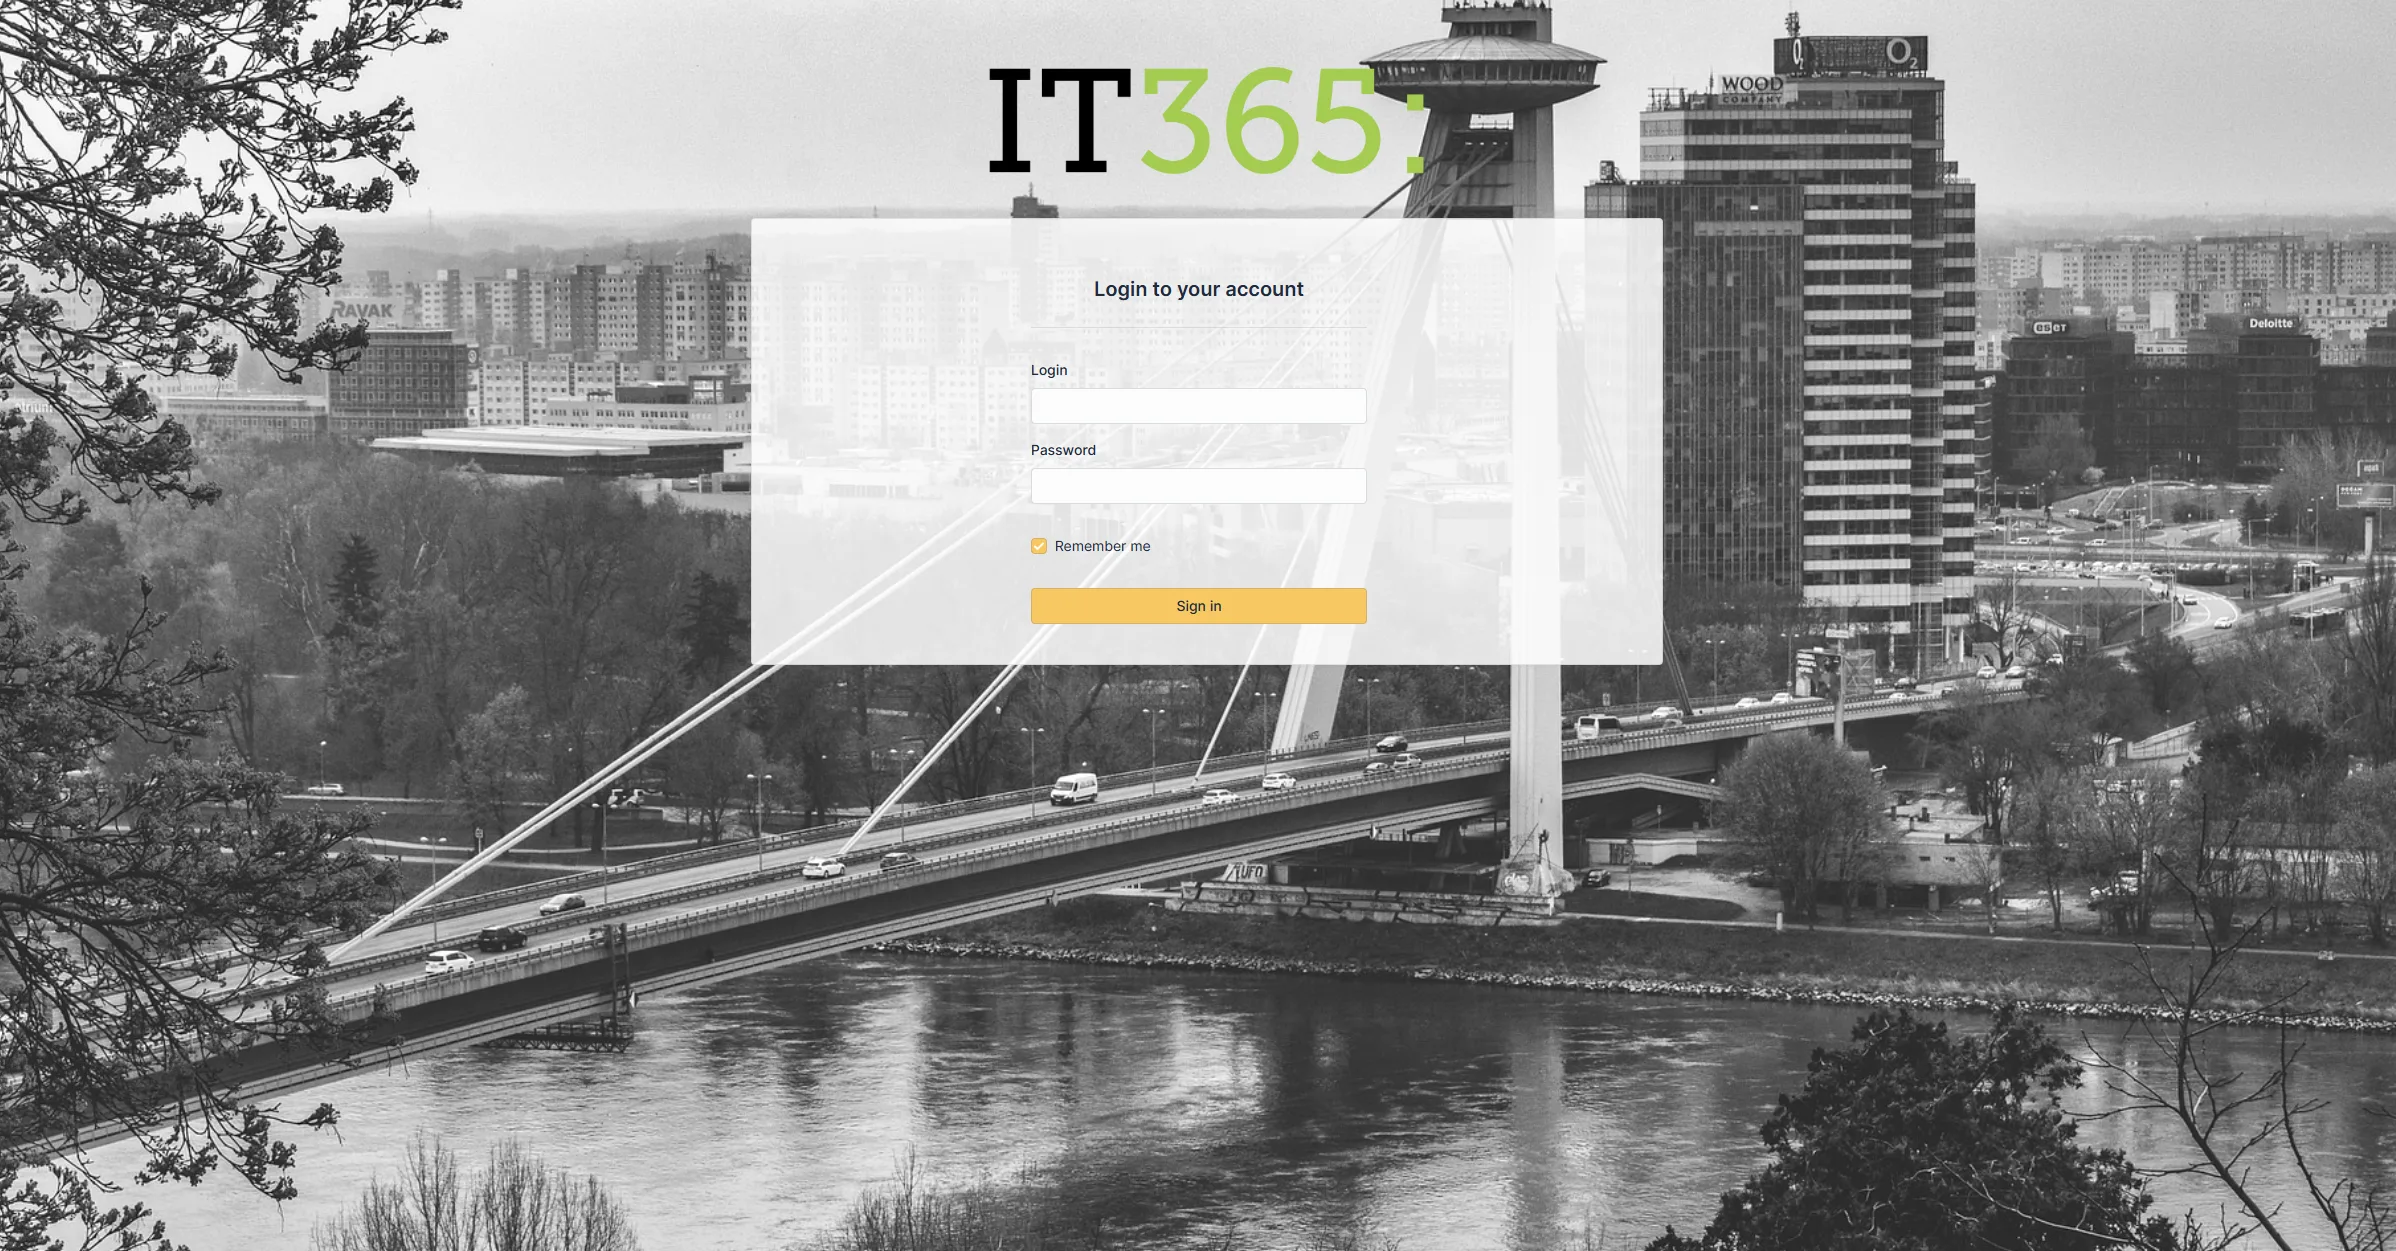
When users open GLPI and see a generic blue interface with a default logo, they treat it like a temporary tool -- something IT forced on them. When they see their own company branding, the perception shifts. It feels like an internal system that belongs here. That small psychological difference has a measurable effect on adoption rates.
Changing the logo
GLPI supports custom logos at two levels. The global logo (Setup > General > General setup) replaces the GLPI logo across the entire instance. In multi-entity setups, each entity can have its own logo -- useful for holding companies where subsidiaries want their own branding on the self-service portal.
Logo requirements: PNG or SVG format, ideally with a transparent background. The recommended size is around 100x55 pixels for the header. GLPI will scale it, but starting with the right dimensions avoids blurry results. Upload the logo in the "General setup" tab -- the change takes effect immediately, no restart needed.
Built-in themes
GLPI includes several pre-built color themes accessible under My settings > Personalization. Each user can pick their preferred theme independently. Available options include light and dark variants with different accent colors.
For organization-wide consistency, administrators can set a default theme in Setup > General > General setup. Individual users can still override it in their preferences, but new accounts will start with the organizational default.
Going beyond built-in themes with custom CSS
If the built-in themes don't match your brand colors, GLPI allows injecting custom CSS through the "Custom CSS" field in the general setup. This is the right place for changes like:
- Overriding the header background color to match corporate brand guidelines
- Adjusting button colors for better contrast
- Changing font sizes for accessibility
- Hiding interface elements that confuse end-users on the self-service portal
Keep custom CSS minimal. Every upgrade can change GLPI's class names or HTML structure, which breaks CSS selectors. Stick to high-level overrides (colors, fonts, visibility) rather than complex layout hacks.
Entity-specific login pages
In multi-entity GLPI instances, each entity can have a distinct login page URL. Users accessing GLPI through the entity-specific URL see that entity's logo and branding. This works well for managed service providers running a single GLPI instance for multiple clients -- each client gets a branded experience without knowing they share infrastructure.
Configure this in Administration > Entities, under the "Helpdesk" tab for each entity.
Self-service portal vs. technician interface
GLPI has two distinct interfaces: the full technician view and the simplified self-service portal. Most branding effort should focus on the self-service portal, because that's what hundreds of end-users see daily. The technician interface matters less visually -- technicians care about functionality, not aesthetics.
The self-service portal supports its own logo, simplified navigation, and restricted menu items. Configure it under Setup > General > Helpdesk. You can control which ticket categories appear, whether users can see other users' tickets, and how the FAQ is displayed.
Practical tips
A handful of decisions worth making at rollout time that pay off later:
- SVG logo over PNG — scales to retina displays without blur and has a smaller file size. Caveat: some older email clients don't render SVG in notifications, so keep a PNG version for email templates.
- Dark mode as a default option — for helpdesk teams with on-call shifts, leaving dark theme as the default choice saves eyes and laptop battery.
- Consistency with other internal systems — if you have an intranet, wiki, or CRM with their own colour palette, use the same hex codes in your custom CSS. Reduces context switching for users.
- Version-control your custom CSS — keep it in a Git repo, or at least in a documented file with changes recorded. After GLPI upgrades, custom CSS sometimes survives, sometimes doesn't — easier to reapply from a versioned source.
What you cannot customize without modifying source code
A few things fall outside GLPI's configuration options:
- The overall page layout structure (sidebar position, header height)
- The login page background image (possible via CSS, but fragile across upgrades)
- Email notification templates' base HTML structure (though you can edit the content and add inline CSS)
- The favicon (requires replacing a file on the server)
For anything requiring source code changes, consider whether a GLPI upgrade will overwrite your modifications. If it will, document the change thoroughly so it can be reapplied after each upgrade. Better yet, use a plugin or custom CSS to avoid touching core files entirely.